Some time last year, my grandparents blessed me with their old laptop: A state-of-the-art Acer TravelMate 5740Z with 2-core Pentium P6000 and a whopping 4GB of ram. Unsurprisingly, it immediately disappeared into the bottom of a closet, where it sat for several months before I had the idea to turn it into a digital photo frame. I recently loaded my grandma’s photo collection into my Immich instance, and this would be a perfect way for them to get to see more of it!

The teardown
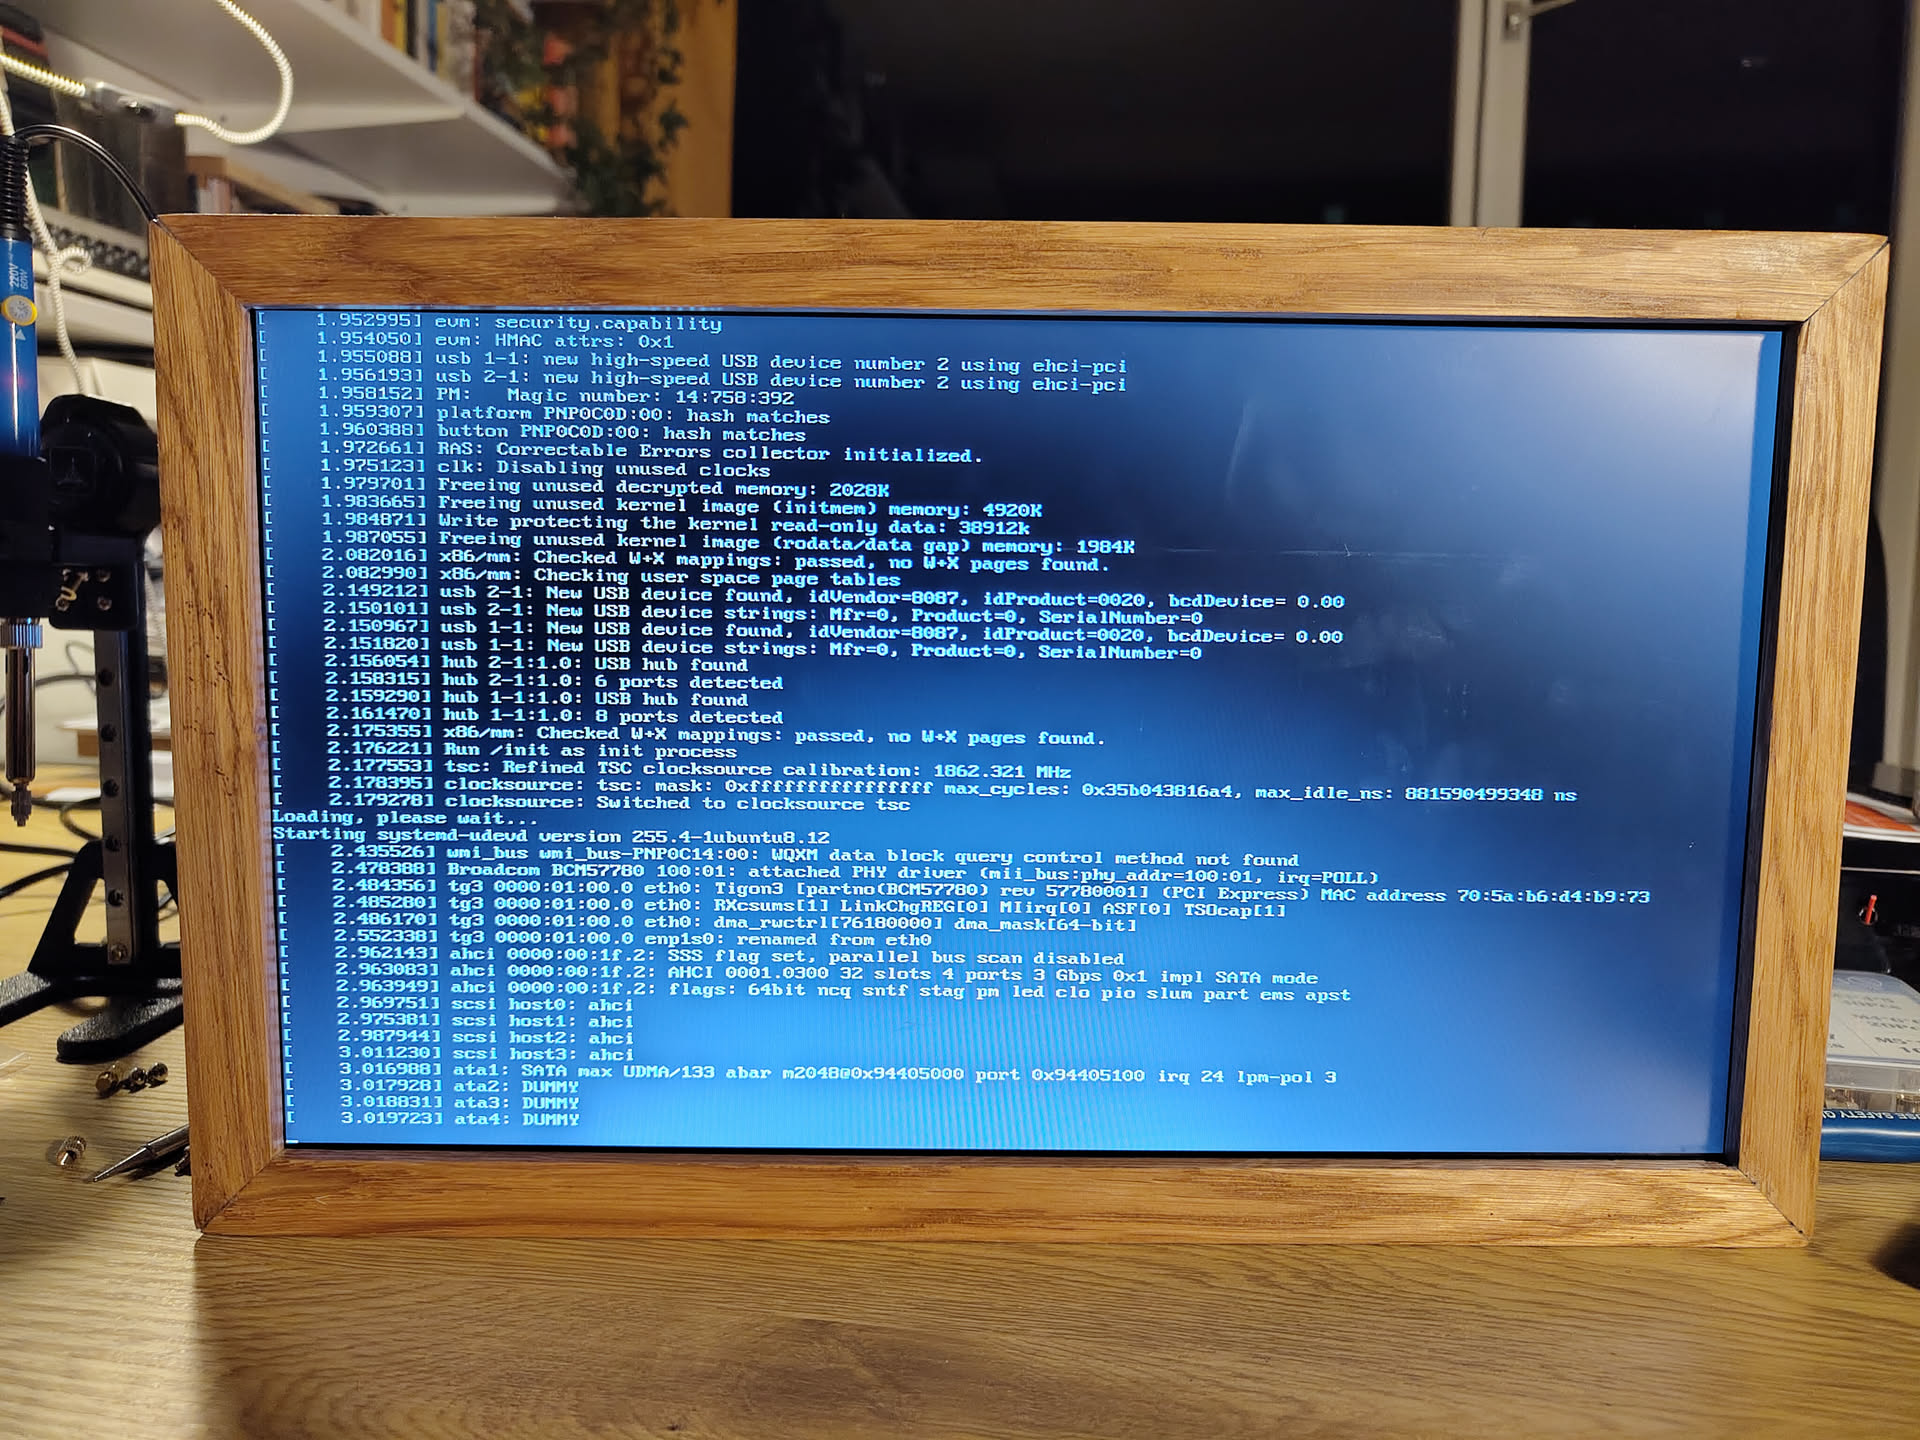
My first step in this process was to tear the old laptop down to only the pieces that I’d need, namely the mainboard and the display panel. I wanted to get rid of the battery, keyboard, and other unnecessary parts. The reason I started with this is that some laptops don’t like to run in such a bare state, but luckily this one didn’t mind at all. This also gave me a chance to look at the shape of the internals, and start forming some ideas about how I would design the frame and the internal structure that holds everything together. Since the original power button was integrated in the laptop casing, I also needed to trace its connections and splice a new button onto the ribbon cable.


Software
After making sure the hardware would actually work, I moved on to getting it to display what I want. I looked at a few fancy kiosk software options, but decided to keep it simple and straightforward to make this a project I actually finish. I went for plain Ubuntu server, then installed xorg-server and set up autologin, with a simple .xinitrc that launches openbox and Firefox in kiosk mode.
More details about configuration files
The system is set to automatically log in to the kiosk user. After that, the .xinitrc sets up the Firefox kiosk..xinitrc: #!/bin/bash xset s off && xset -dpms && xset s noblank openbox & unclutter -idle 0 & firefox --kiosk https://immich-kiosk/?password=snipI also ended up needing some extra configuration for Firefox to hide some nag overlays
/home/kiosk/snap/firefox/common/policies/policies.json:
{
  "policies": {
    "DontCheckDefaultBrowser": true,
    "DisableDefaultBrowserAgent": true,
    "UserMessaging": {
      "WhatsNew": false,
      "ExtensionRecommendations": false,
      "FeatureRecommendations": false,
      "UrlbarInterventions": false,
      "SkipOnboarding": true,
      "MoreFromMozilla": false,
      "Locked": true
    },
    "DisableFirefoxStudies": true,
    "OverrideFirstRunPage": "",
    "OverridePostUpdatePage": "",
    "Preferences": {
      "browser.newtabpage.activity-stream.asrouter.userprefs.cfr.features": {
        "Value": false,
        "Status": "locked"
      },
      "browser.newtabpage.activity-stream.asrouter.userprefs.cfr.addons": {
        "Value": false,
        "Status": "locked"
      },
      "browser.aboutwelcome.enabled": {
        "Value": false,
        "Status": "locked"
      },
      "messaging-system.rsexperimentloader.enabled": {
        "Value": false,
        "Status": "locked"
      }
    }
  }
}
Firefox then opens immich-kiosk, which I host in my homelab. This gives a nice slideshow frontend for Immich, including filter options like only showing photos of family members. While not as standalone as some other options, this means I can trivially tweak what is shown on the frame by just editing the kiosk config I run, and also update it without worrying about breaking a device I don’t have easy access to - although I did also install tailscale on the frame, just to have options in case something breaks.
Design and assembly
The final piece of the project was to design the actual frame to house all of this. Initially I tried to find an off-the-shelf frame to put everything in, but none of them had the fit or style that I wanted, so I decided to make my own. This was a bit of a challenge for my (lack of) woodworking skills, and it didn’t come out quite as clean as I’d hoped, but overall I’m pretty happy with it. After gluing up the outer frame, the next step was to design a carrier for the mainboard and the other small pieces like the power button. This ended up being a pretty tricky part to design and took a good few iterations to really get right. It was also just 7mm too large for my 3D printer, which meant I had to split it in two parts and glue them together, but after all that trouble it worked out quite nicely.


Conclusion
I had a ton of fun building this frame, and my grandparents were very excited to receive it. It lives right in front of where they usually sit, and I’m told their screentime is now far too high. :D
Even though I’m very happy with this end result, I don’t think I’ll be taking this route again and I’m not sure I would recommend it either; if you want a digital photo frame, there are ready-made options that will have much better display quality, and potentially even cost less too. But if you need a project and a piece of ewaste needs a purpose, this is a great one!